IH Coil Unit
![]()
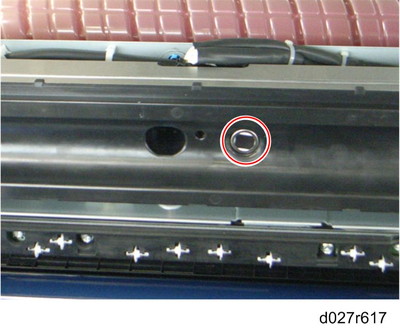
Do not push the thermostats on the IH coil unit. If you do, the thermostats will be opened. In that case, the IH coil unit must be replaced.
Fusing unit (
 Fusing Unit
 )
)Rear cover (
Rear Cover)Right rear cover (
Right Rear Cover)Open the controller box (
Controller Box).Fusing duct (
Fusing Fan)IH inverter (
IH Inverter)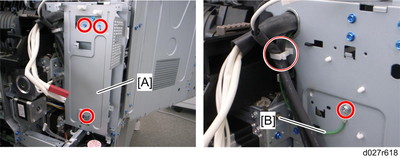
IH inverter bracket [A]
 x 3)
x 3)Ground cable [B] (
x 1,  x 1)
x 1)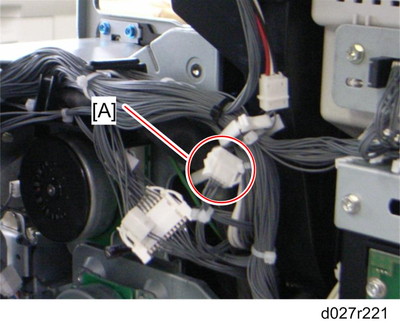
Remove the connector [A].
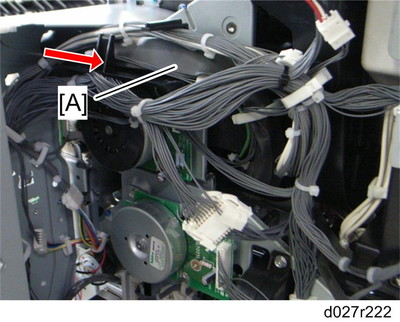
Pull the Harness [A] in the arrow direction.
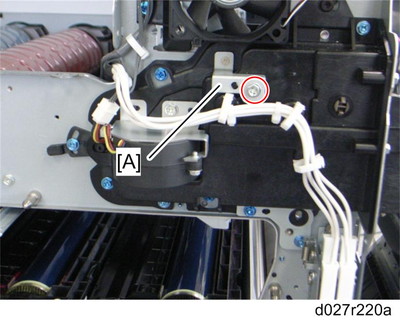
Bracket [A] (
x 1)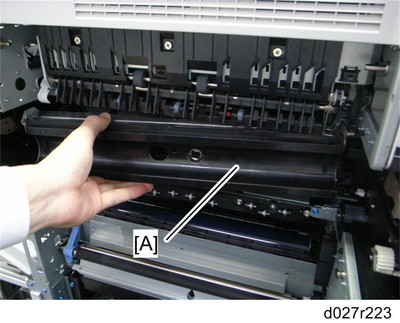
IH coil unit [A] (First, release the front side of the IH coil unit.)