Image Transfer Belt
Image transfer belt cleaning unit (
 Image Transfer Belt Cleaning Unit
 )
)Image transfer belt unit (
Image Transfer Belt Unit)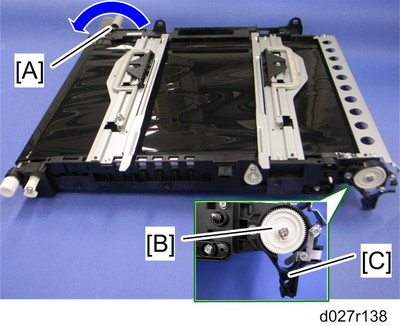
Turn the image transfer unit contact lever [A] counterclockwise (as seen from the rear).
Gear [B] (hook x 1)
Turn the gear cover [C] clockwise (as seen from the rear) (
 x 1).
x 1).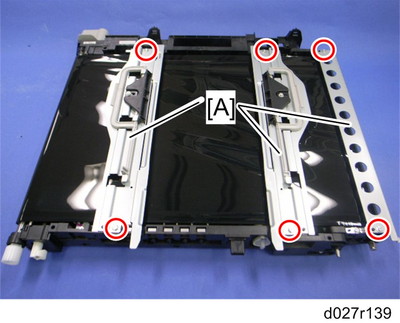
Three stays [A] (
x 6)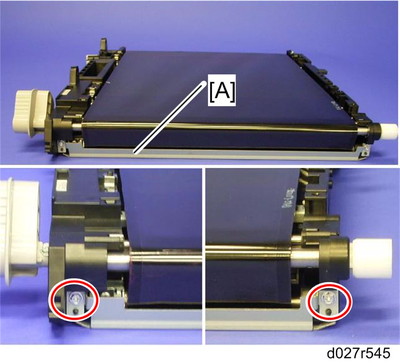
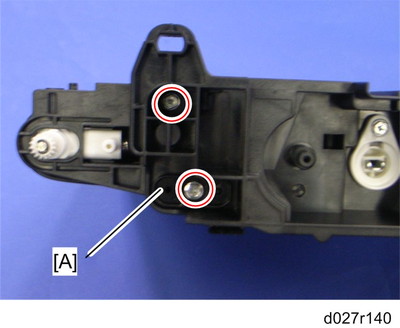
Guide plate [A] (as seen from the right side of the machine) (
x 2)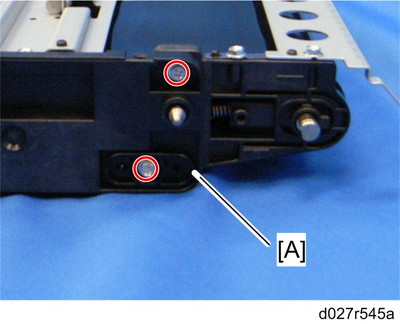
Remove the two screws and then the rear holder bracket [A] (as seen from the rear).
Remove the two screws and then the front holder bracket [A] (as seen from the front).
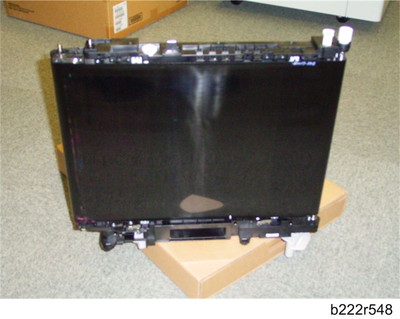
Put the front side of the image transfer belt unit on a corner of the table or a box as shown.
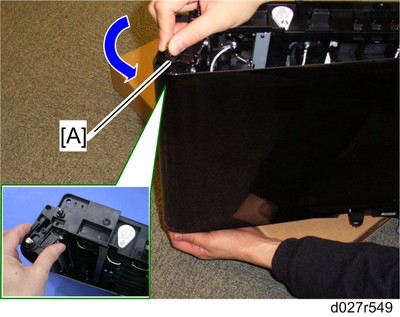
Pull the tension roller [A] as shown.
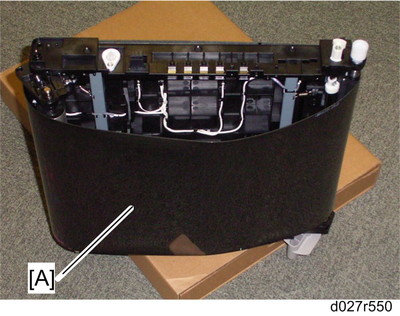
Image transfer belt [A]