Stand the frames [A] and [B].
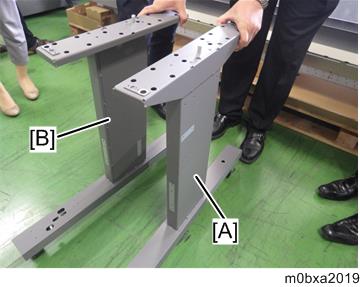

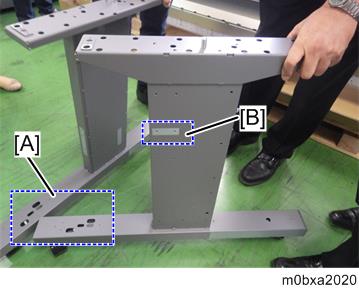
Stand the two frames with the metal plates [B] facing outward in a state where one sides [A] of the stays, which have multiple screw holes, are located on the machine front side.
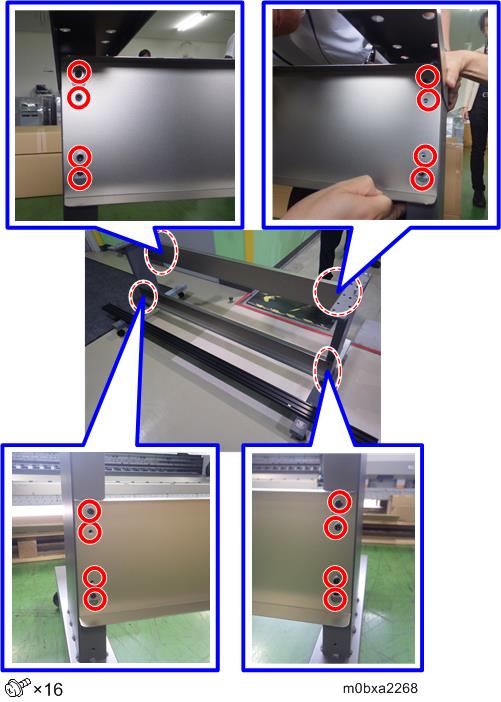
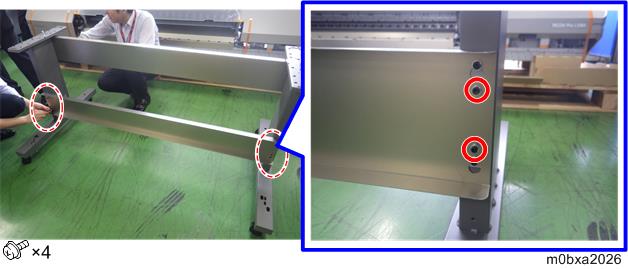
- Attach the screws with washers to the holes of the rear side of the frame.
- Hook the stay [A] to the screws with washers attached to on the frame in step 3.
Temporarily tighten the screws to fix the stay.
Check if the hung stay [A] is distorted or deformed, and then tighten the left and right screws evenly to fix the stay.
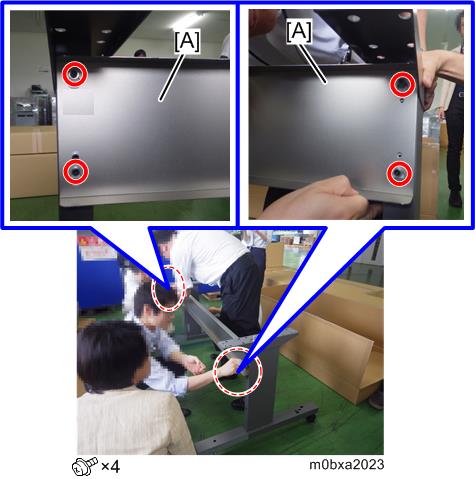
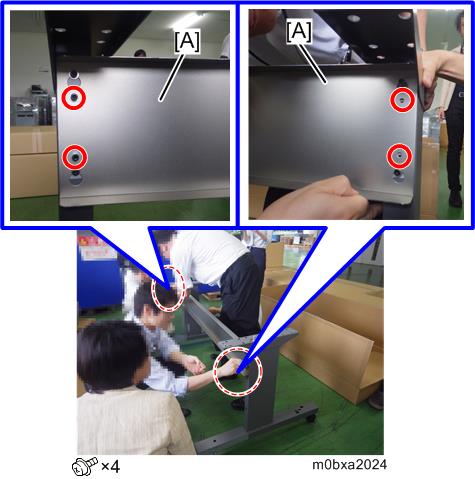
When attaching the stay [B], the washer [A] is located outside of the stay.
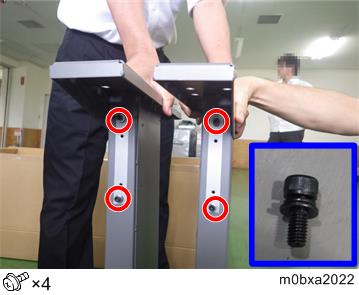
Temporarily fix the both sides of the stay [A]. (Hexagon Socket Head Cap Bolt:M8X20)
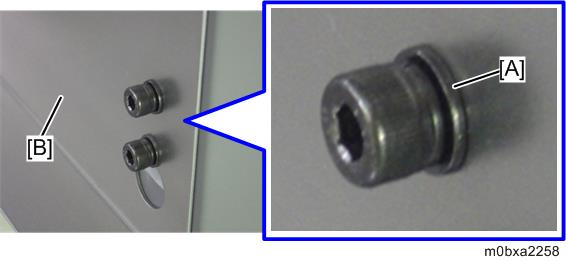
Similarly attach the screws with washers to the front side of the frame, and hook the stay [A] to the screws with washers.
Temporarily tighten the screws to fix the stay.
Check if the hung stay [A] is distorted or deformed, and then tighten the left and right screws evenly to fix the stay.
When attaching the stay [B], the washer [A] is located outside of the stay.
- Temporarily fix the both sides of the stay.
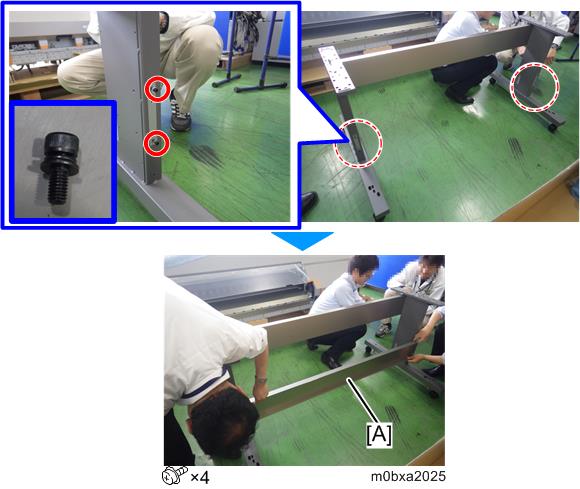
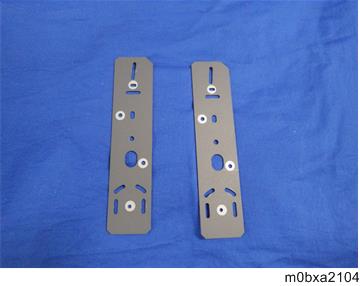
Attach the brackets [A] to the both sides of the roll-up unit stay that is not equipped with the handle to draw. (Hexagon Socket Head Cap Bolt:M4X8)

When attaching the brackets, make sure that the left and right brackets are the same direction.
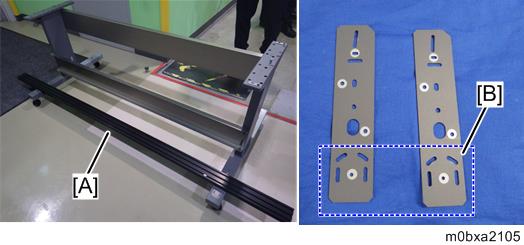
- Turn the stay [A] upside down, and then place the stay on the printer stand so that the sides [B] of the brackets are positioned on the front side of the machine.
Fix the brackets on the printer stand. Combine the hexagon socket head cap bolt (M3X8) with the washer dia3, and then use them to fix the brackets.
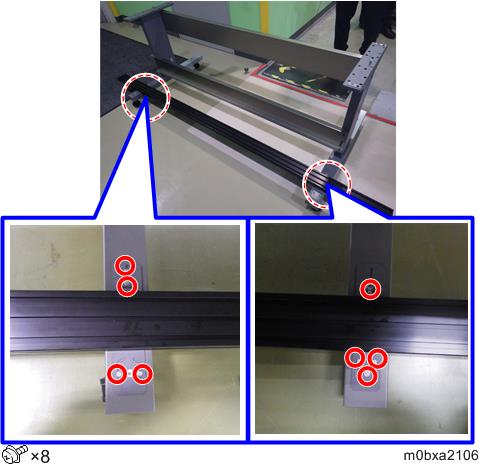
- You must attach the washer dia3.
- Tighten the screws that are temporarily fixed in each position.