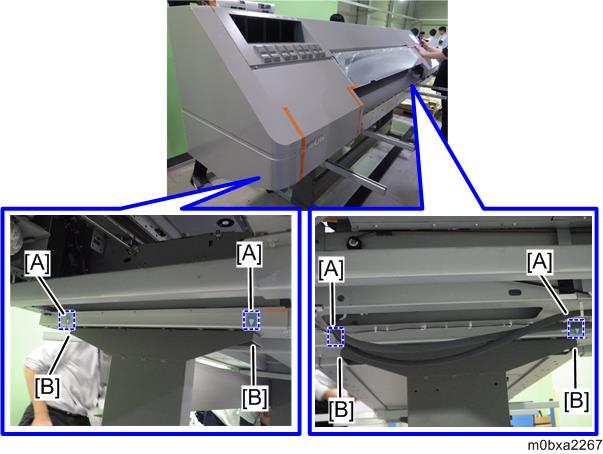
Insert the four stays [A] into the bracket [B] of the lower side of the main unit.
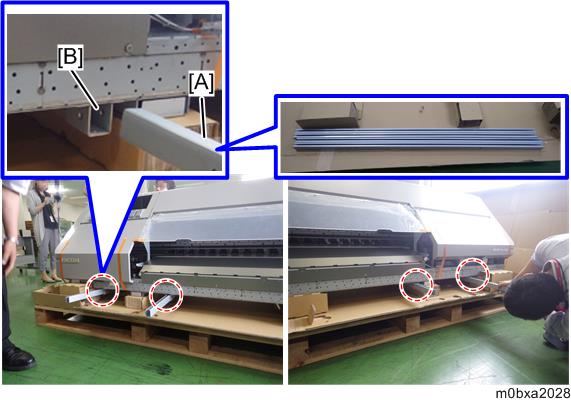

Make sure that the groove [A] of the stay is upward.

- Confirm that the stays appear from the rear side of the machine.

Fix the inserted stay with bolt and nut [A]. (HEXAGONAL BOLT:M8X40) (HEXAGONAL NUT:M8)
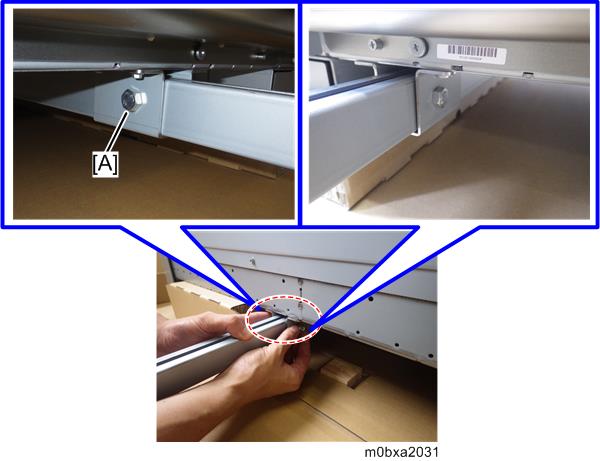
Fix all the eight points with bolts and nuts.
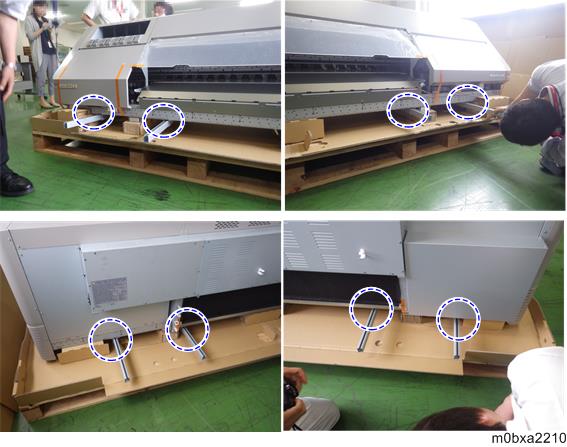
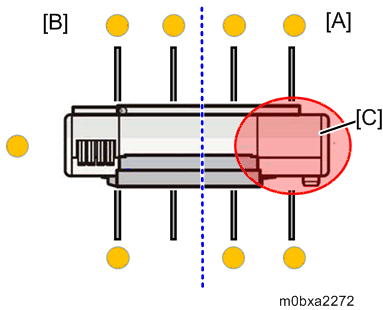
Hold the stays [A] of the main unit [B] and lift it by seven people, and then pull the pallet [C] away.


Four people hold the right side [A] and three people hold the left side [B].
The main machine is heavy because it includes the carriage unit and the maintenance unit.
When pulling the pallet away, be careful not to strike it on person legs.
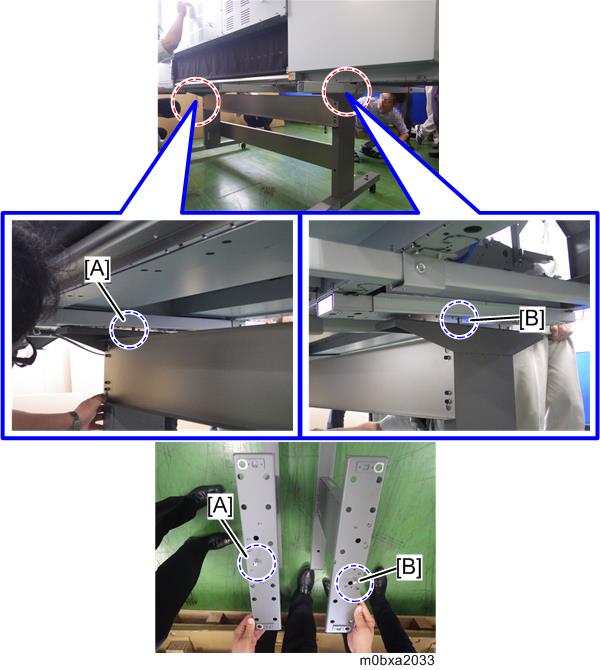
Place the printer stand [A] under the main unit [B].

- The marks [A] of the lower side of the main machine show the position of the positioning pin for the printer stand.
Front side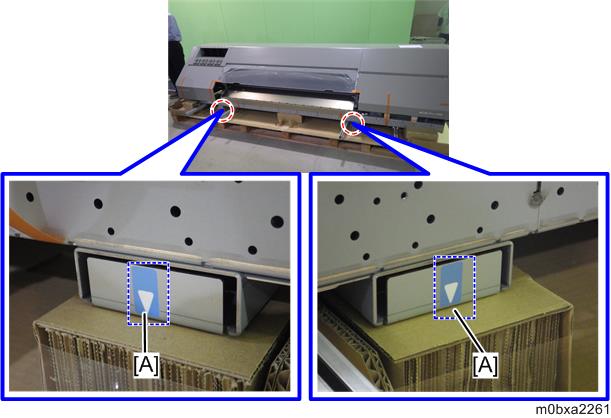
- Rear side

- When connecting the printer stand to the main machine, align the marks [A] at the bottom of the main machine with the both edges [B] of the printer stand.
- The long hole is at the left side of the bottom side of the main machine.
- The marks [A] of the lower side of the main machine show the position of the positioning pin for the printer stand.
Insert the positioning pins [A] and [B] of the printer stand into the holes of the bottom side of the main unit.
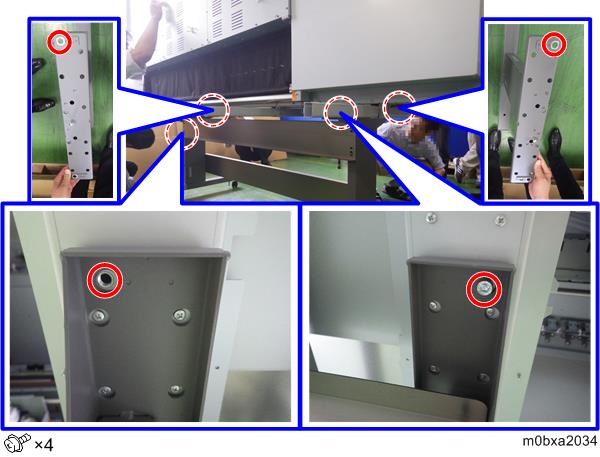
Fix the main unit and the printer stand with the screws with washers. (M8X20) (SPRING WASHER:DIA8) (WASHER DIA8)
Remove the bolts and the nuts, and the four stays from the main machine.
Ask the customer to store the stays used for connection between the main machine and the printer stand, for use when the machine needs to be transported.