- Turn the main power ON.
- Enter the SP mode, input "9" for SP2-012-001, and then execute it.
The automatic maintenance after startup will be restricted. - Turn the main power OFF.
- Remove the right upper cover. (Measuring the Head Height)
- Remove the carriage front lower cover [A].
When removing the carriage front lower cover, loosen the screws [B].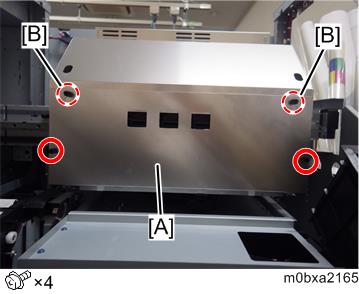
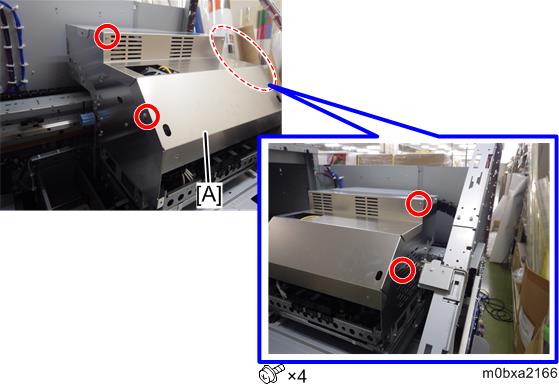
Remove the carriage front cover [A].
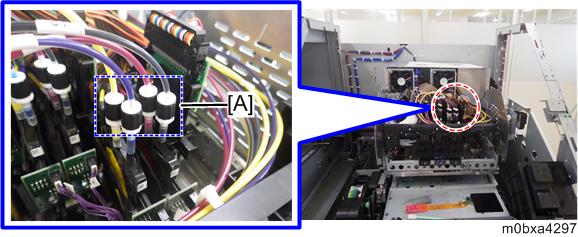
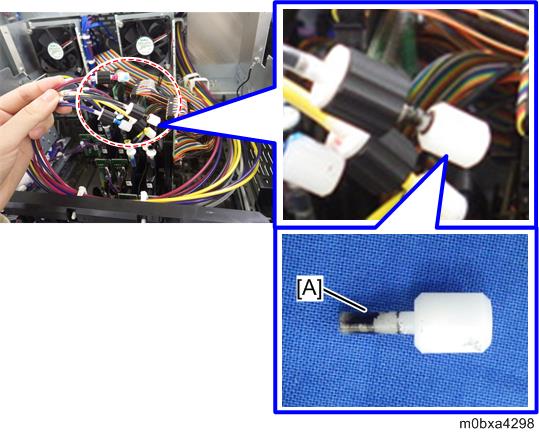
Remove the fittings [A] right above the damper.
If the machine is a 4C+W machine, also remove the circulation tube, and then cap the circulation tube to prevent ink from leaking.

- The shape of the fittings will change for design change.
[A]: Before, [B]: After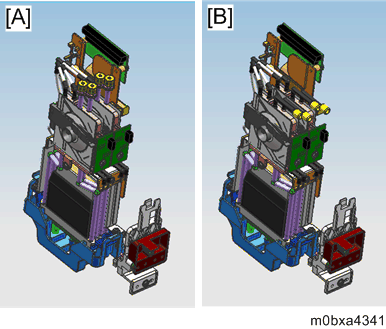
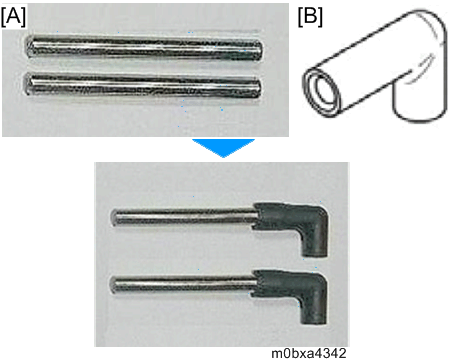
- The shape of the fittings will change for design change.
To prevent ink from leaking, attach the cap [A] to each tube on the main machine side.
- When replacing the white heads, seal the heads that white circulation tubes are removed from. The four pins are combined with the four tubes and they are used to seal the heads. The other four pins are used to seal the removed white circulation tubes.
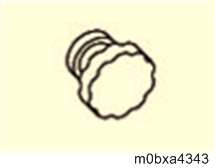
- The cap is changed to the one in the below picture after the design change.
- When replacing the white heads, seal the heads that white circulation tubes are removed from. The four pins are combined with the four tubes and they are used to seal the heads. The other four pins are used to seal the removed white circulation tubes.
Only attach the right front cover.