Do not loosen the screws coated by a locking agent.
- Remove the rear right cover (Removing the Rear Right Cover)
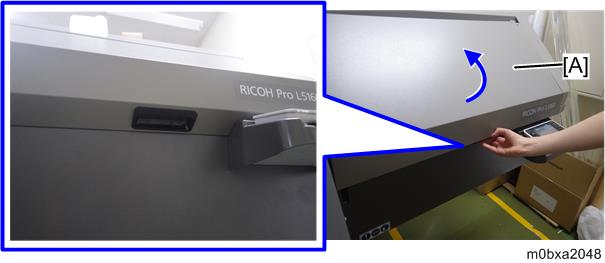
Open the right front cover [A].

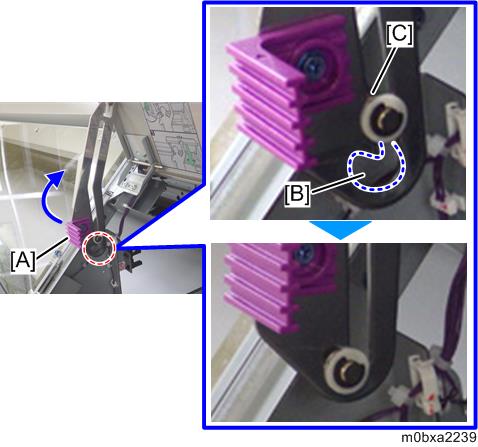
Lift the lock lever [A] tightly to let the shaft [C] fit the cutout section [B] of the bracket.
- Remove the nozzle cleaning cartridge.
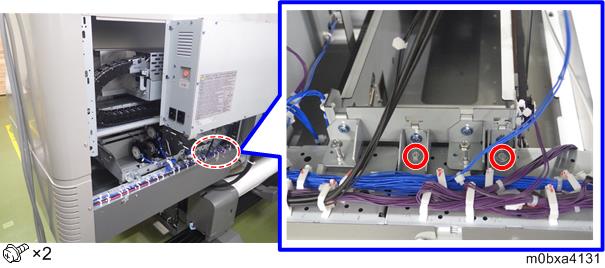
- Remove the fixing screws from the front side of the base of the nozzle cleaning cartridge driving unit.
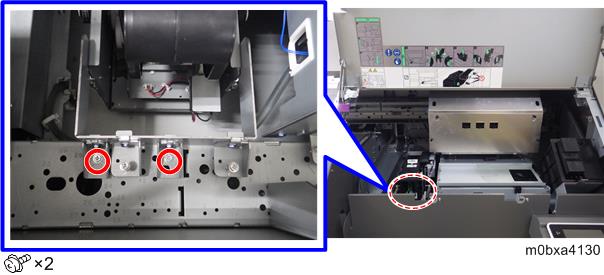
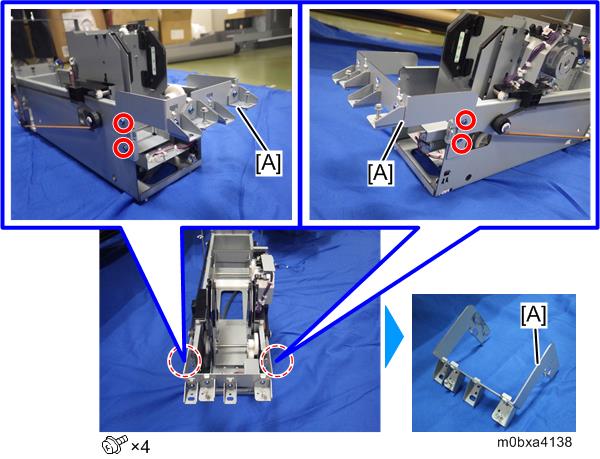
- Remove the fixing screws from the rear side of the base of the nozzle cleaning cartridge driving unit.
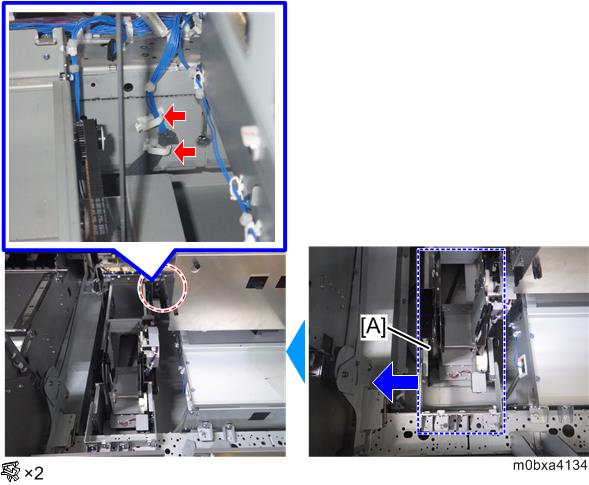
- Disconnect the connecters connected to the nozzle cleaning cartridge driving unit, and then release the clamps.
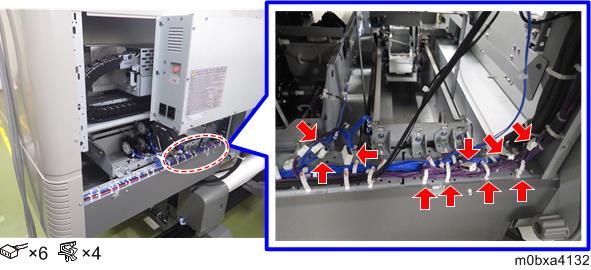
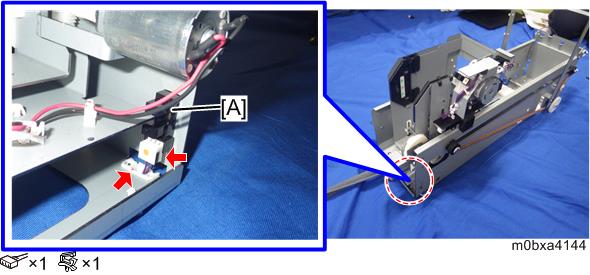
- Remove the tube [A] for cleaning liquid.
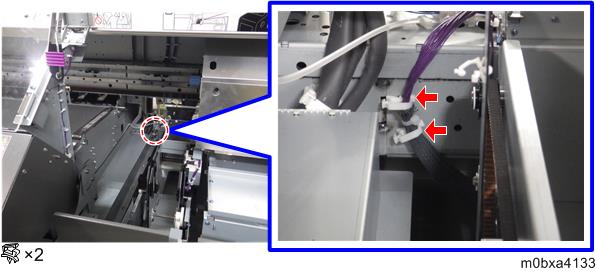
- Release the clamps of the front side.
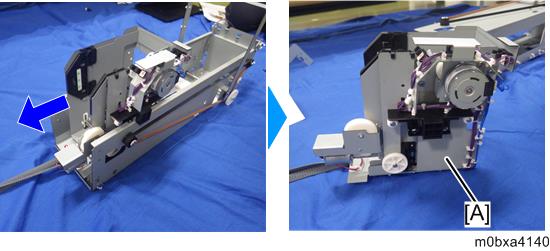
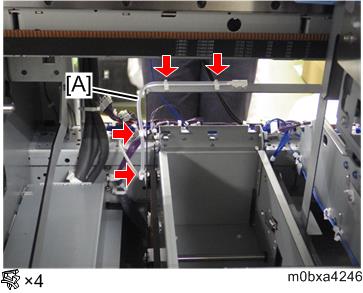
- Move the nozzle cleaning cartridge driving unit [A] to the left side by holding the base, and then release the clamps.
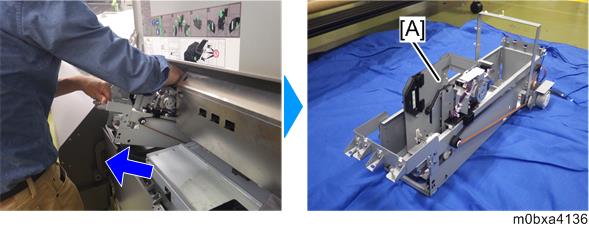
Remove the nozzle cleaning cartridge driving unit [A] with the base.
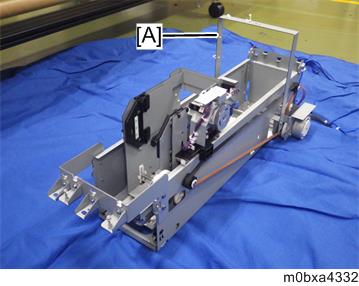
When removing the nozzle cleaning cartridge driving unit [A] with the base, do not hold the cleaning liquid stand [A]. Otherwise the stand may be deformed.
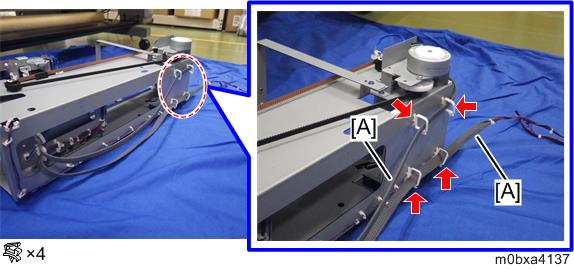
- Remove the harness [A].
- Remove the front part [A] of the stay.
- Remove the web front/rear HP sensor [A].
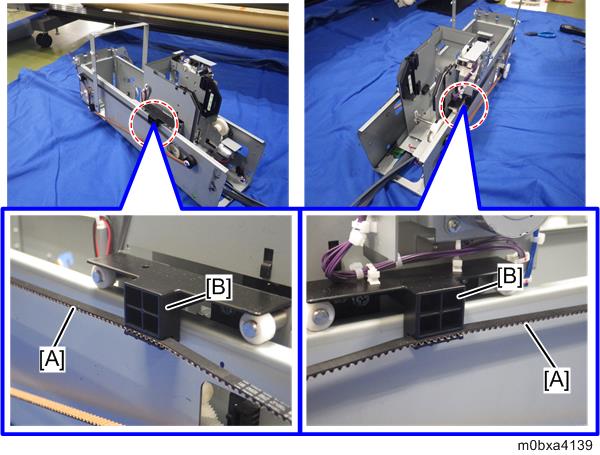
- Remove the timing belts [A] from the sliders [B].
Remove the nozzle cleaning cartridge driving unit [A].