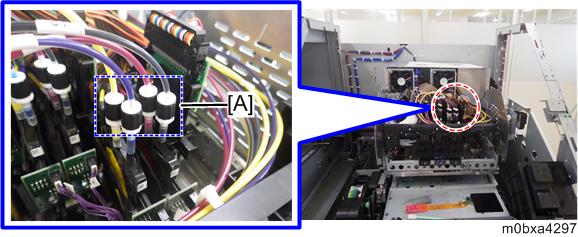
- Remove the port brackets [A] for air purging in front of the print head unit.
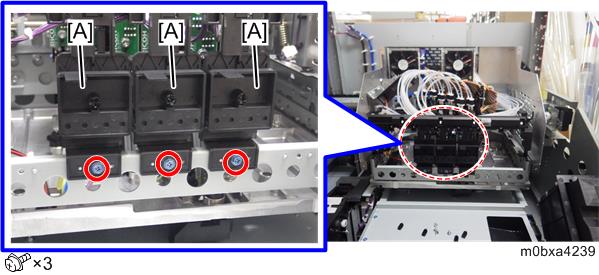
- Remove the HDC cables [A] connected to the print head unit.
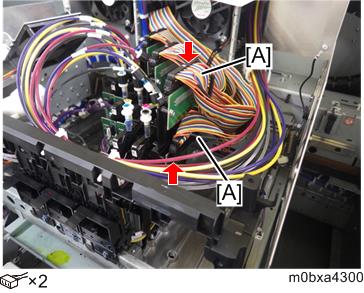
- Disconnect the connectors that are connected to the damper sensor board (DFSB).
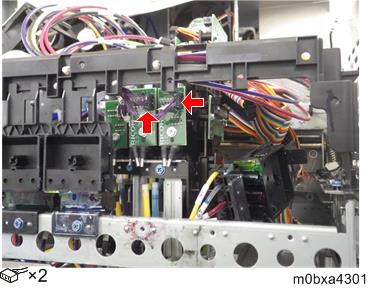
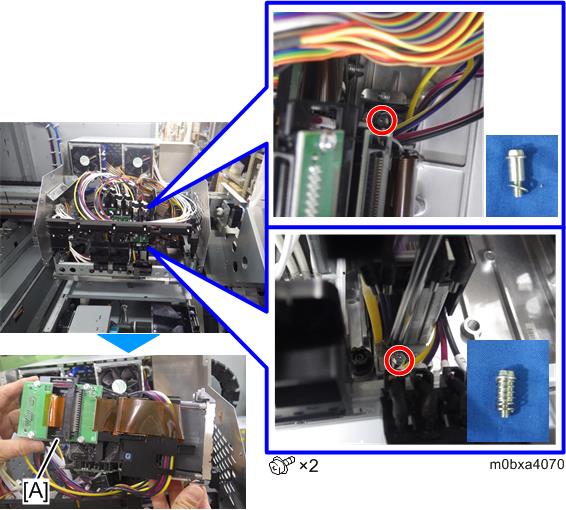
- Remove the print head unit [A].
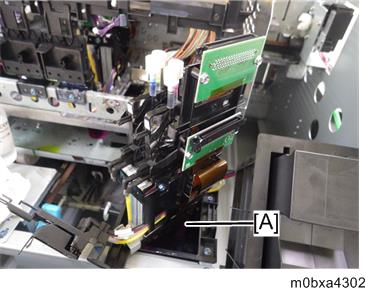
- Because ink will drop from the print head unit, place the print head unit above the ink receiving port [A].
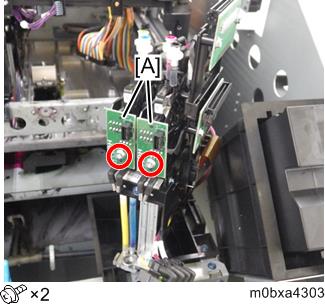
Remove the damper sensor board (DFSB) [A] from the print head unit.
The removed damper sensor board (DFSB) must be attached to the new print head unit in step 12.
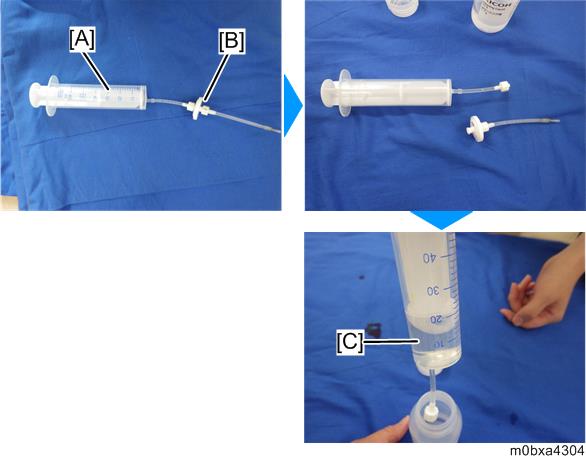
- Remove the filter [B] from the syringe [A], and then suck in the cleaning liquid [C] 20 cc per port. Attach the removed filter.
- Make sure that the damper entrance is sealed.
Put in the cleaning liquid from the air purging port [A] of the damper of the new print head unit using the syringe and dampen the inner surface.
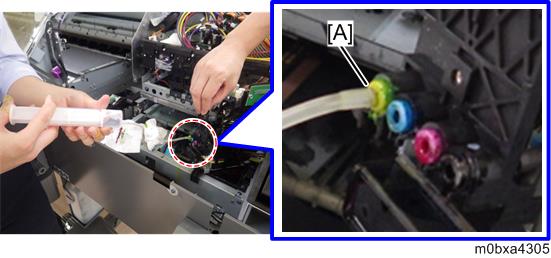

The injection speed of the cleaning liquid must be 0.5 cc per second or slower.
- In the same way of step 7, suck in 20 ml per port of air with the syringe, and then reattach the removed filter.
- Make sure that the damper entrance is sealed.
Put in air from the air purging port [A] of the damper of the new print head unit using the syringe to push out the cleaning liquid.


Make sure that the damper entrance is sealed.
The injection speed of the air must be 0.5 ml per second or slower.
- Repeat steps 7 through 10 for each air purging port.
Each print head unit has four ports. - Attach the damper sensor board (DFSB) [A] removed in step 6 to the new print head.

Install the new print head unit [A] in the machine.


- When returning the screws, hold the driver with three fingers and tighten the screw. Do not tighten them excessively.
- Make sure the feeler [A] is in place.
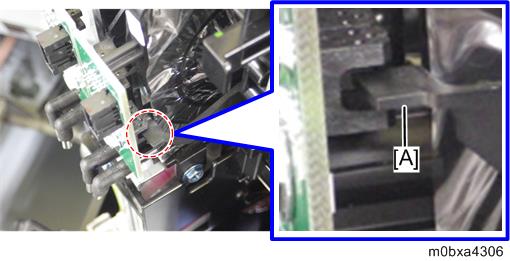
- Connect the connectors to the damper sensor board (DFSB).

- Connect the HDC cables.

Attach the tubes [A] to the fittings right above the damper.
If the machine is a 4C+W machine, also attach the circulation tube.
