This section explains how to discharge unnecessary air inside the damper from the air purge ports of the carriage.
Air purging discharges unnecessary ink and air mixed inside the print heads from the air purge ports of the carriage.

Wear gloves before working.

If the display panel is idle for 10 minutes or more, maintenance work will be canceled, and the panel will return to the home screen. If this occurs, the process will need to be performed again from the beginning.
Do not place any object on the platen as the carriage moves there.
- Press the [Maintenance] key.
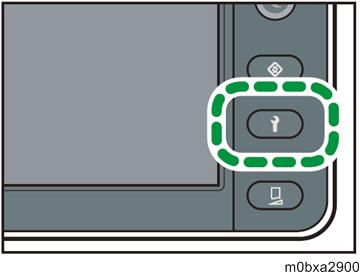
- Press [
 ].
]. - Press [Special Maintenance].
- Press [Air Purge].
- Select a print head to be performed from [Head 1], [Head 2], or [Head 3].
- Press [Execute].
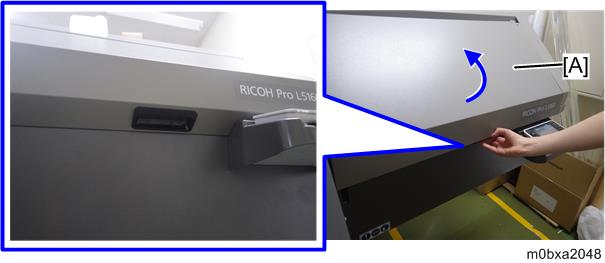
Confirm a message on the operation panel, and then open the right front cover [A].

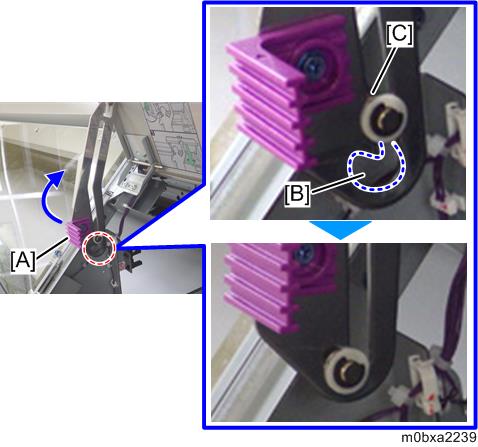
Lift the lock lever [A] tightly to let the shaft [C] fit the cutout section [B] of the bracket.
- Remove carriage front lower cover [A].
When removing the carriage front lower cover, loosen the screws [B].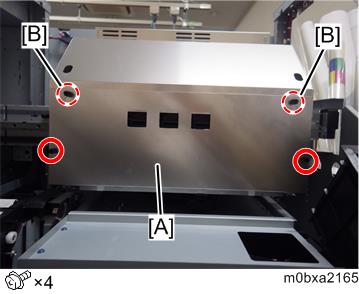
- Loosen the screw [A] that secures the port cover of the print head used for air purging, and then remove the port cover [B].

- Attach the air purge tool [A] under the port [B].
Hook the air purge tool to the edge of the front side of the carriage.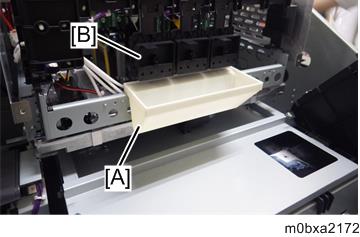
- Close the right front cover.
- Press [Execute].
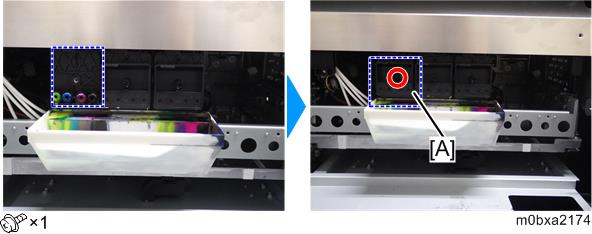
Ink is discharged in the air purge tool. Wait until a completion message appears on the operation panel. - Open the right cover.
- If ink drips from the ports, wipe it off using a dry cloth.
- Attach the port cover [A], and then secure it with the screw.
- Remove air purge tool from the carriage.
Be careful not to spill ink. Pour the ink [A] from air purge tool into the ink receiver [B].
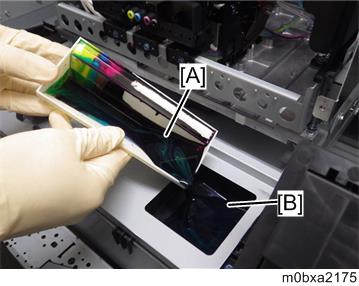
When performing air purge for another print head, pour the discharged ink into the ink receiver every time air purge finishes to prevent the ink from spilling when carriage moves.
- Reattach the carriage front lower cover.
- Close the right front cover.
- Press [Confirm].
Head cleaning is executed automatically. Wait until a completion message appears on the operation panel. - Press [Confirm].
Repeat this procedure from Step 1 if you perform air purging for another print head.
In the initial filling, perform air purge on all the print heads.
- When the air purge tool is removed, ink may leak. Place a paper towel near the port before the work.
- Air purging is performed for one print head. You cannot perform air purging for multiple print heads.
- Use a paper towel to remove ink from the used air purge tool, and then ask the customer to store the tool.
The air purge can be performed by SP mode
- Set SP2-012-004 to 7, and then execute it to rewrite all air purging flags of the print heads.
- Perform Steps 7-11 of "Damper Air Purge".
- Execute SP2-012-005 to perform the air purge.
- H1: Set the SP value to 1, and then execute it.
- H2: Set the SP value to 2, and then execute it.
- H3: Set the SP value to 4, and then execute it.
- Perform Steps 13-19 of "Damper Air Purge".
- Execute SP2-010-001 to perform the head cleaning.
- H1: Set the SP value to 1, and then execute it.
- H2: Set the SP value to 2, and then execute it.
H3: Set the SP value to 4, and then execute it.